Miscellaneous guides for Landscape
Contents:
- Identify your Landscape version
- Group machines together to perform a task across the group
- Upgrade all packages on a certain group of machines
- Keep a set of machines automatically up to date
- Keep Landscape from upgrading a certain package on one of my servers
- Create a custom graph
- Ensure all computers with a given tag have a common list of packages installed
Identify your Landscape version
Landscape beta versions run ahead of the Landscape SaaS version, and the Landscape SaaS version runs ahead of of self-hosted Landscape versions.
You may need to know what version of Landscape you’re running. To identify your Landscape Server and Landscape Client versions:
- Landscape Server: Add
/aboutto the URL of your Landscape account. For example,https://landscape-server.domain.com/about. If you’re using Landscape SaaS, the URL ishttps://landscape.canonical.com/about. If you’re using self-hosted Landscape, you can also runapt policy landscape-serverin the command line on the server machine. - Landscape Client: Run
apt policy landscape-clientin the command line on the client machine.
Group machines together to perform a task across the group
You can use tags to manage a group of computers. To add a tag to a group of computers:
- Click Computers in the header
- Select the computers you want to tag
- Click Info
- In the Tags section, enter the tag you want to use
- Click Add
Upgrade all packages on a certain group of machines
Using tags, you can perform an upgrade across a group of machines. For example, if you want to upgrade all your desktop computers, you might want to use “desktop” as a tag.
Starting the upgrade:
- Click Computers in the header
- Click the desired tag from the left column. This will select only the computers associated with the selected tag.
- Click Packages
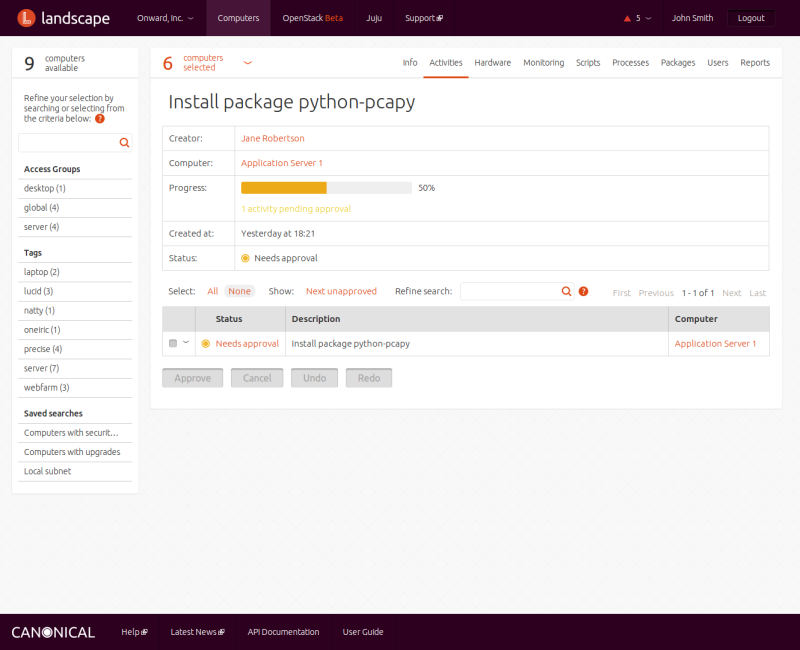
- Scroll to the bottom of the page and click Request upgrades. This will create a queued activity for upgrading the computers. You can view this activity in the Activities tab.

Note: While the upgrade tasks are now in the queue, they will not be executed until you approve them. To approve the tasks, click All, then click Approve.
Keep a set of machines automatically up to date
The best way is to use upgrade profiles, which rely on access groups. If an access group is already set up for the group of machines you want to keep updated automatically, click on its name. If not, you must create an access group for them:
- Click on your organisation’s name in the header
- Click Access groups
- Specify a title for your new access group
- Click Save.
You must then add computers to the access group:
- Click Computers in the header
- Select all of the machines you want to keep updated by:
- using a tag if one exists
- using search to find the machines
- selecting them individually
- Click Info
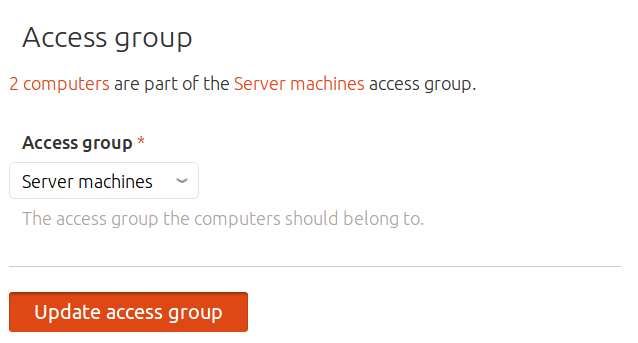
- In the Access group section, select the access group you want to move the machines to
- Click Update access group.

Once you’ve added machines to an access group, you’ll need to create an upgrade profile:
- Click on your organisation’s name in the header
- Click Profiles
- Click Upgrade Profiles
- Click Add upgrade profile
- Complete the Create an upgrade profile form, defining:
- name
- the upgrade settings you want to use
- an access group
- the schedule you want to use
- Click Save
Keep Landscape from upgrading a certain package on one of my servers
- Click Computers in the header
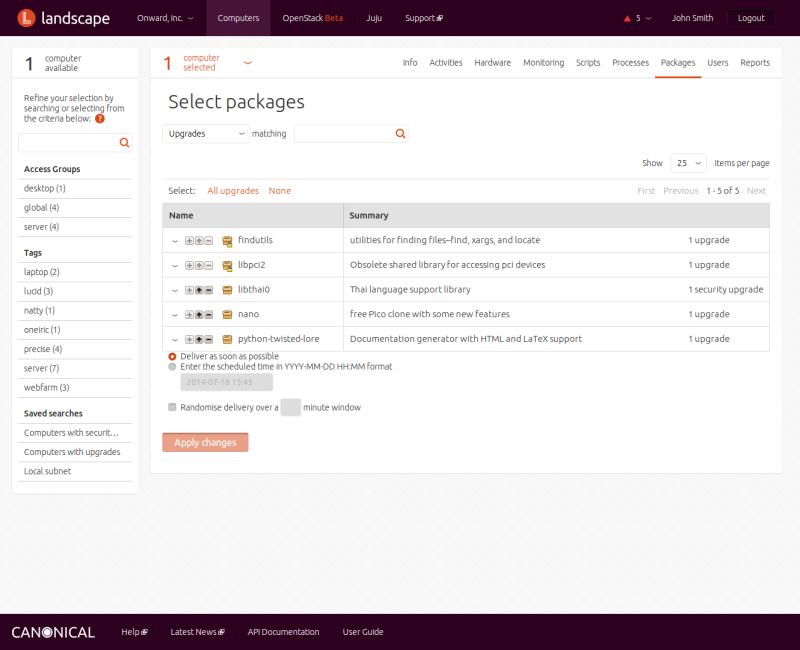
- Click Packages
- Use the search box at the top of the screen to find the package you want.
- Click the triangle on the left of the listing line of the package you want to hold, which expands the information for that package.
- Now click on the icon to the left of the package name. A new icon with a lock will replace the old icon, indicating that this package is to be held during upgrades.
- Click Apply changes

Create a custom graph
Suppose you want to monitor the size of the PostgreSQL database on your database servers, you may use tags to group these machines together. Now you can create a graph to provide information from all of these servers:
- Click on your organisation’s name in the header
- Click Graphs
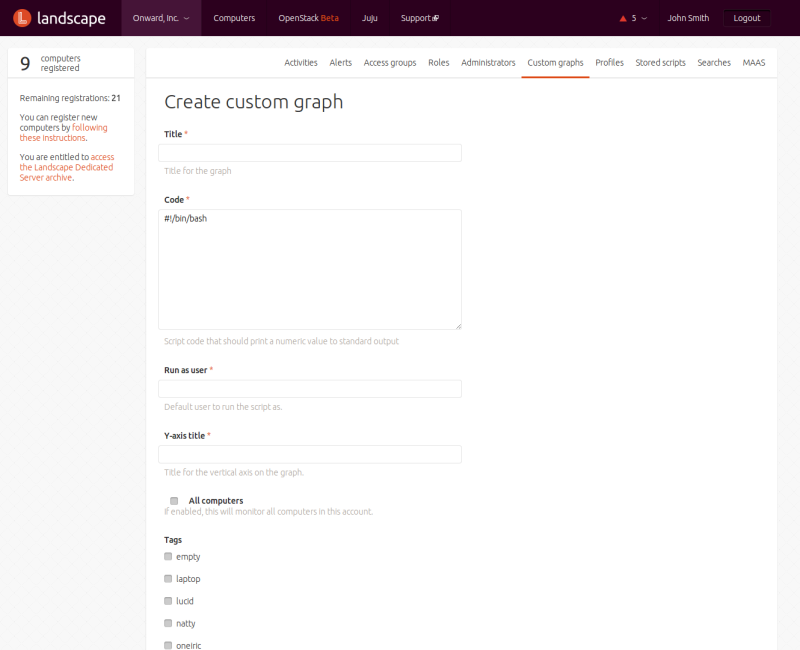
- Click Add graph
- Complete the Create graph form. In our example, we could do something like:
- Title:
PostgreSQL database size - Provide a “Y-axis title” and define the machines you want the graph created for.
- Run as user:
postgres - Code:
#!/bin/bash
psql -tAc "select pg_database_size('postgres')"
- Title:
- Click Save

To view the graph, click Computers in the header, then click Monitoring. You can select the monitoring period from the dropdown menu at the top of the window.
Ensure all computers with a given tag have a common list of packages installed
Manage them via a package profile.
